After I finished tracking, I started to rotoscope. To do this I had to pre-compose the scene that I had just tracked, so pre-composing all of my HUD elements into one comp. By doing this it makes the HUD elements that are all 3D into 2D layers where I can rotoscope around Sici, Paul or objects.
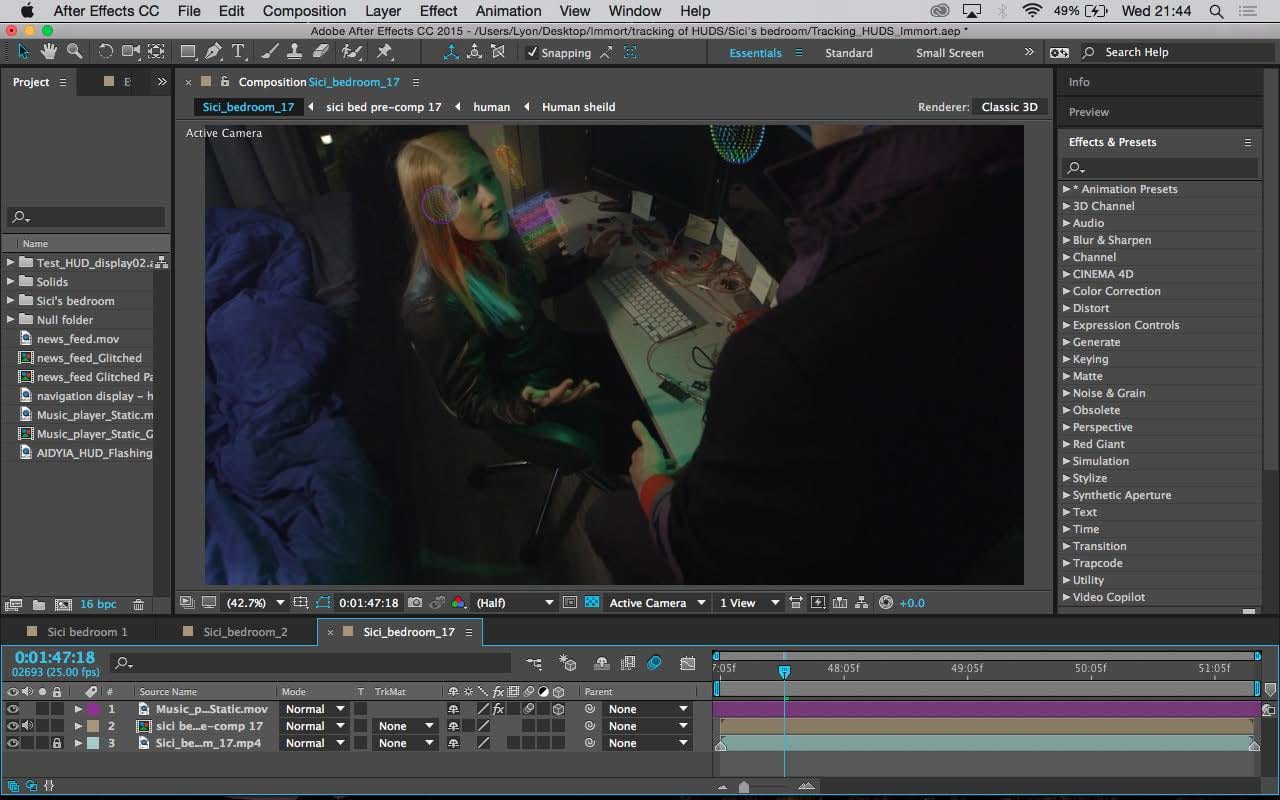
Mask not applied yet. Shot is alright as it is as she has not turned her head round to the screens.
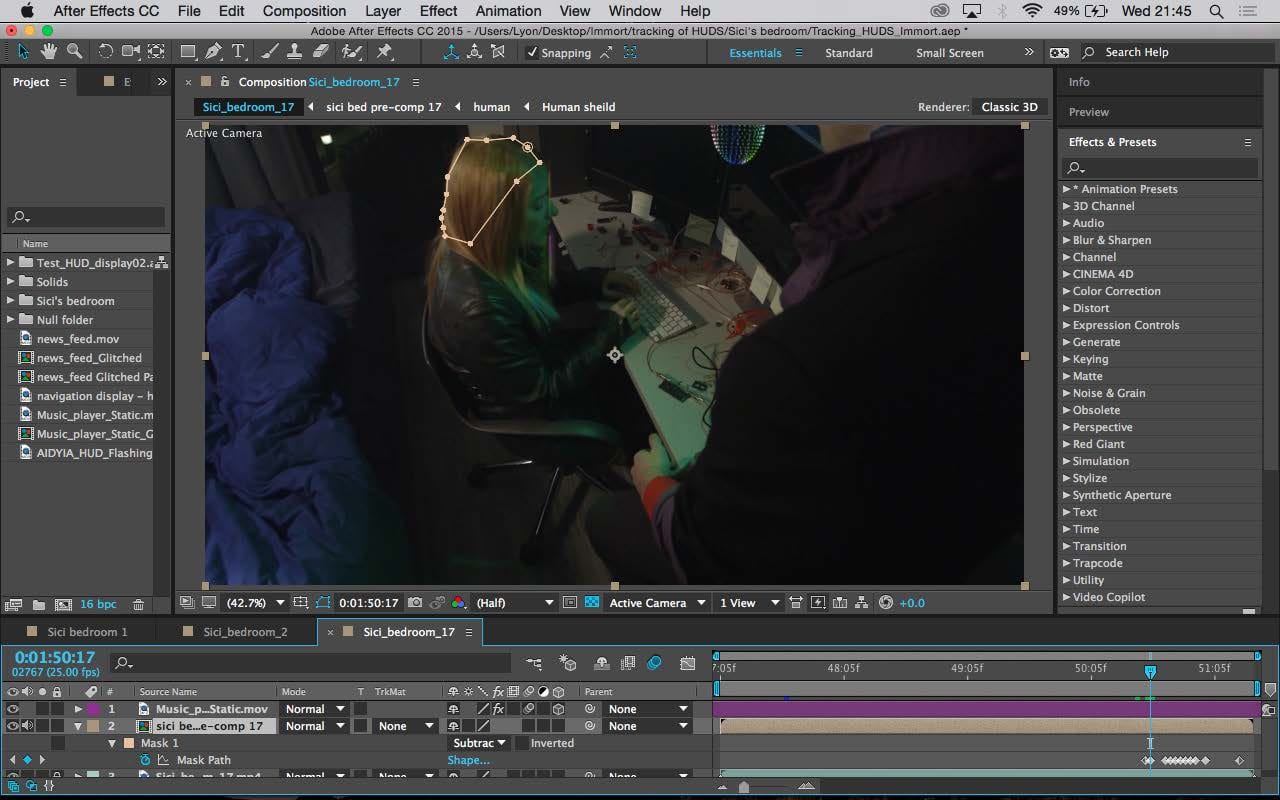
Mask waiting to be animated and to hide the HUD elements when she turns her head back to the screens.
Mask applied and moving around with her head to hide the HUD elements that are covered by her head.
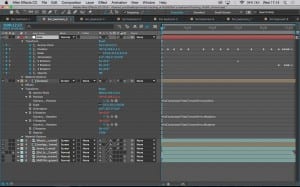
After I finished creating the HUD’s to the design that my director wanted, I then started on the task of tracking the HUD’s which to me is quite a difficult task and a challenging one at that as the actress and the actor move their heads around a lot. I had to try to keep up with their head movements and make sure the motions would be smooth and swift, not snapping up or down. To do this, I had to hand track each shot with a Null objects. I could have used After Effects Tracker, however it is not the best. Especially when the actor or actress turns their head as it will not follow the motion so hand tracking was the way forward.
To do this, I had to use her eyes as my reference points throughout the entire scene so I placed the Null at the ends of her eyes and hand tracked her position as she moved towards the camera as you can see with the red path.
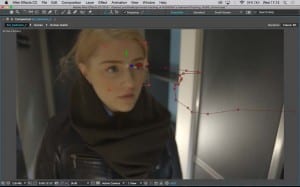
After I finished tracking her, I would place the HUD elements into the shot but instead of tracking all the HUD elements all over again,
I would instead use expressions and tell each HUD elements to follow the certain parts that I tracked. In this instance, I told the Human HUD element’s position, X & Y rotations to follow the position, X & Y rotations of the Null.
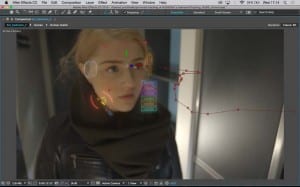
Then adding a transform effect on top of the Human element to then position the HUD element where I would want it in shot.
In this video I show the process I took to get my HUD items tracked and placed where I wanted them. Also, what the final shot looked like after I had finished it.
When creating my end credits, I felt that just having the glitching effect alone was quite boring and did not show much creativity. So I decided to create something in the background to make it much more interesting and to make it more futuristic.
I decided at one point I could try and add an orb object that would pulsate and change colour over time to show it being hacked into. However, I felt this design was too distracting and took away from reading the end credits.
I then tried out the idea of a grid that would show it being hacked into over time. The design and the motion of it moving, I thought, was really nice. However, I questioned would the audience be able to see it and as I felt it sunk into the background a bit too much.
I then finally decided on this design as I felt it had the right balance of keeping you interested with the background but not so distracting from the end credits and that you could read them .
When Sici has to take the pill to be introduced into the Aidyia network, I need to make a loading screen/ buffering screen to show that it is loading up and setting up the network. One idea of a buffering screen/loading screen is the infamous Youtube buffering wheel.
The animation itself is very simplistic and would be quite easy to replicate with the Aidyia logo as all I would need to do is animate it looping around once then copy and paste the keyframes so that it continues in a cycle.
I also thought maybe do a upload and download buffering/loading screen to show that it was uploading Sici’s data or personal information or downloading the necessary information or the hood interfaces.
After my research into holograms, I decided to do my own test version of what a hologram could possibly look like.
These were the results from my tests.
I also posted this on LSFM digibod Facebook page to see what else everyone else thought of and to get their response about it.
response for my test hologram
Overall I am really pleased with how I was able to create this using the plug in from trap code Form and just experimenting wondering if I could apply a video layer into the plug in and seeing what effects I could come out with. My personal opinion is that I think the best ones were my first two that I created as they seem very futuristic and hologram style.
However, I later learned that I would not be doing the holograms anymore as my director wanted to do it instead.