Test glass appearing

In our film there is a scene where we have a drinking glass appearing and disappearing, but want it to materialise as it is appearing and then dematerialise after our character has finished drinking from it. However, I could not find any references on how can you make objects materialise and dematerialise but I had a rough idea on how to do it. I thought that I should at least test out my idea of how I think it could be done to show if it works or not.

So I did some test footage. Firstly I recorded two different videos.

1 –  Plain and no glass.

2 – With glass.

– Note that I didn’t move the camera at all while I recorded this.

I then took it to Adobe After Effects and placed the two videos into the composite.

In After Effects I changed the opacity levels of the cup. After doing this I then noticed that there was a light difference in lighting which made the change very noticeable. To get around this problem I decided to draw masks around the cup to make remove the sudden lighting change.

Maskes around the cup.
Mask’s around the cup.

After doing this I then started to do my animations around the cup and these were my results.


Glass assembling one ring

With this test, I really liked the how the rings looked and how I made them look like that they were going around the cup. However, I did feel that one ring was very underwhelming and not really impressive.

Glass assembling multi rings

So I decided to duplicate that ring over and distanced them out over five frames to create this effect which I do feel is much more impressive and is visually pleasing.

Glass Assembling Star Trek style.

While I was watching the tutorial ‘Animated polygon’ done by the fantastic Andrew Kramer. http://www.videocopilot.net/tutorials/animated_polygon/

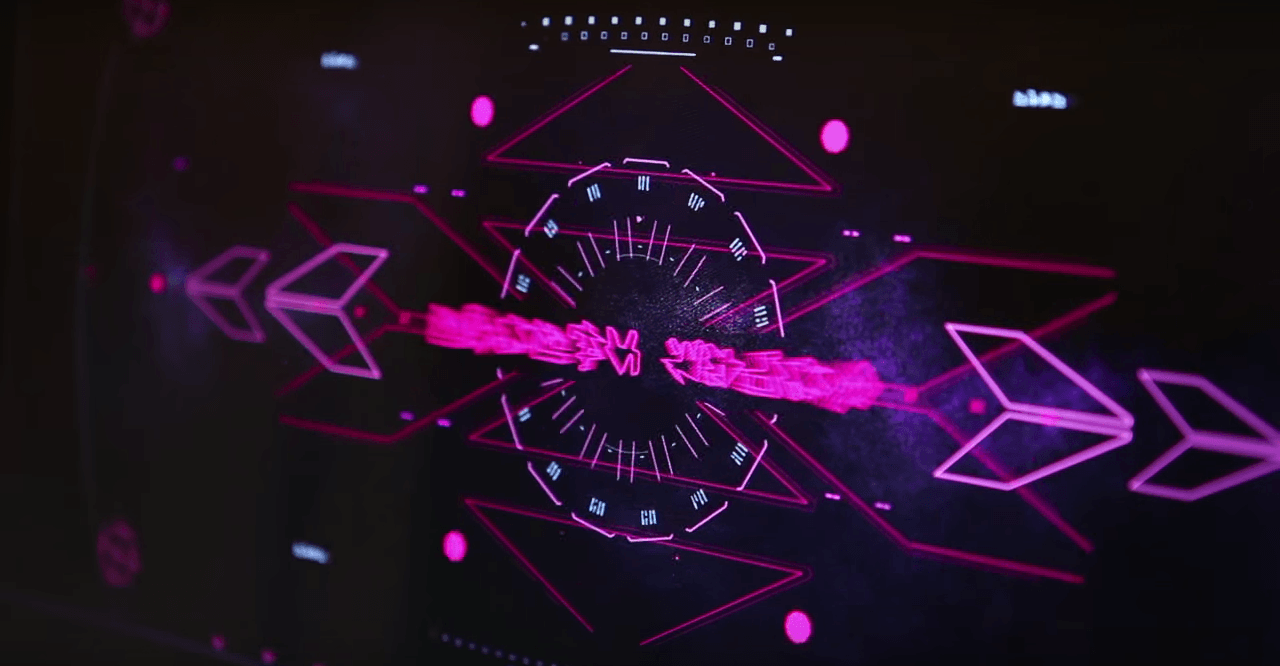
it taught me how to create cool effects by using a gradient and the effect time displacement map that is built within After Effects and thought it would be interesting to see what would happen if I tried to apply that effect to my rings and this is the effect. I personally think it is so cool and looks almost like the effects used in Star Trek when they want to beam someone up to the spaceship.

Glass assembling Star Trek multi rings

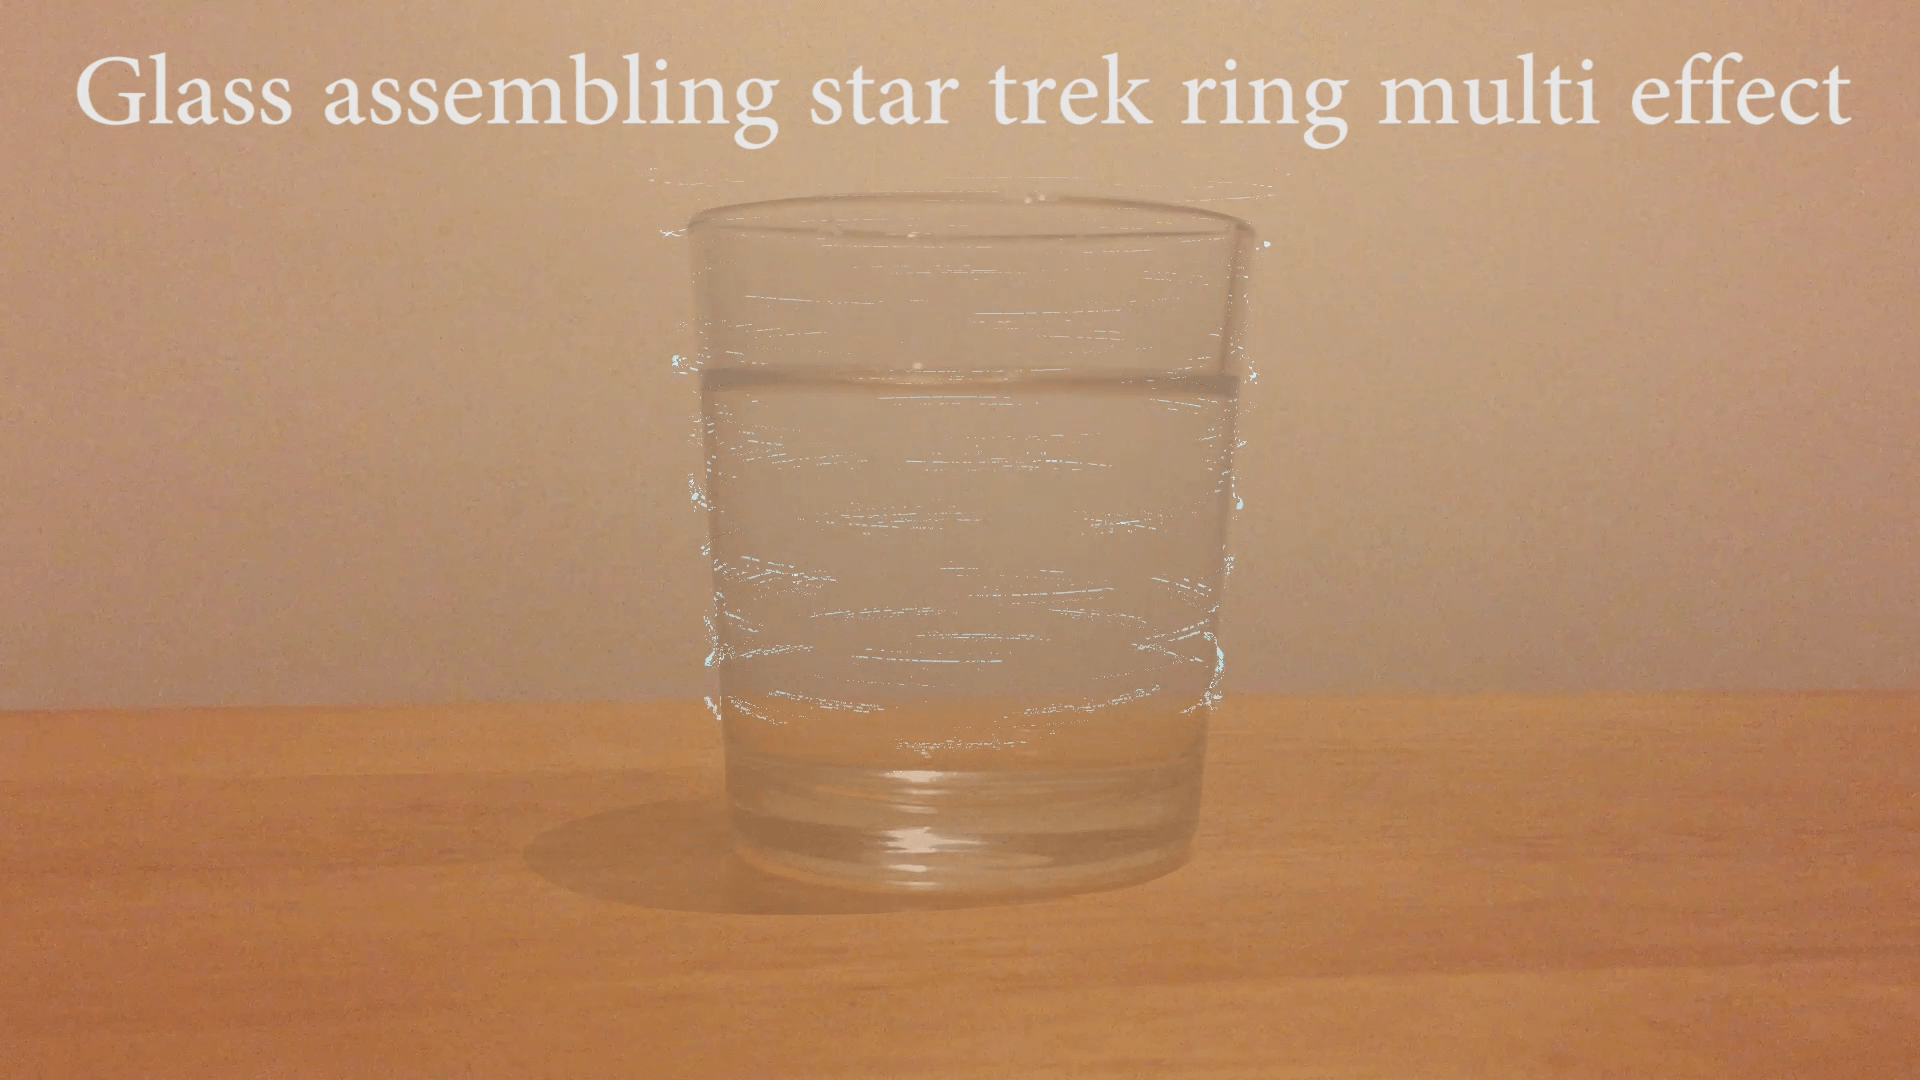
Once again I thought it would be interesting if I duplicated that ring over and over and spaced them out over five frames per second and this is the effect. Personally I really like this effect as it is very unique and really fits the aesthetics and I feel like it gives the effect that the cup and water is being created.

Glass Assembling one half ring
Glass Assembling half ring multi

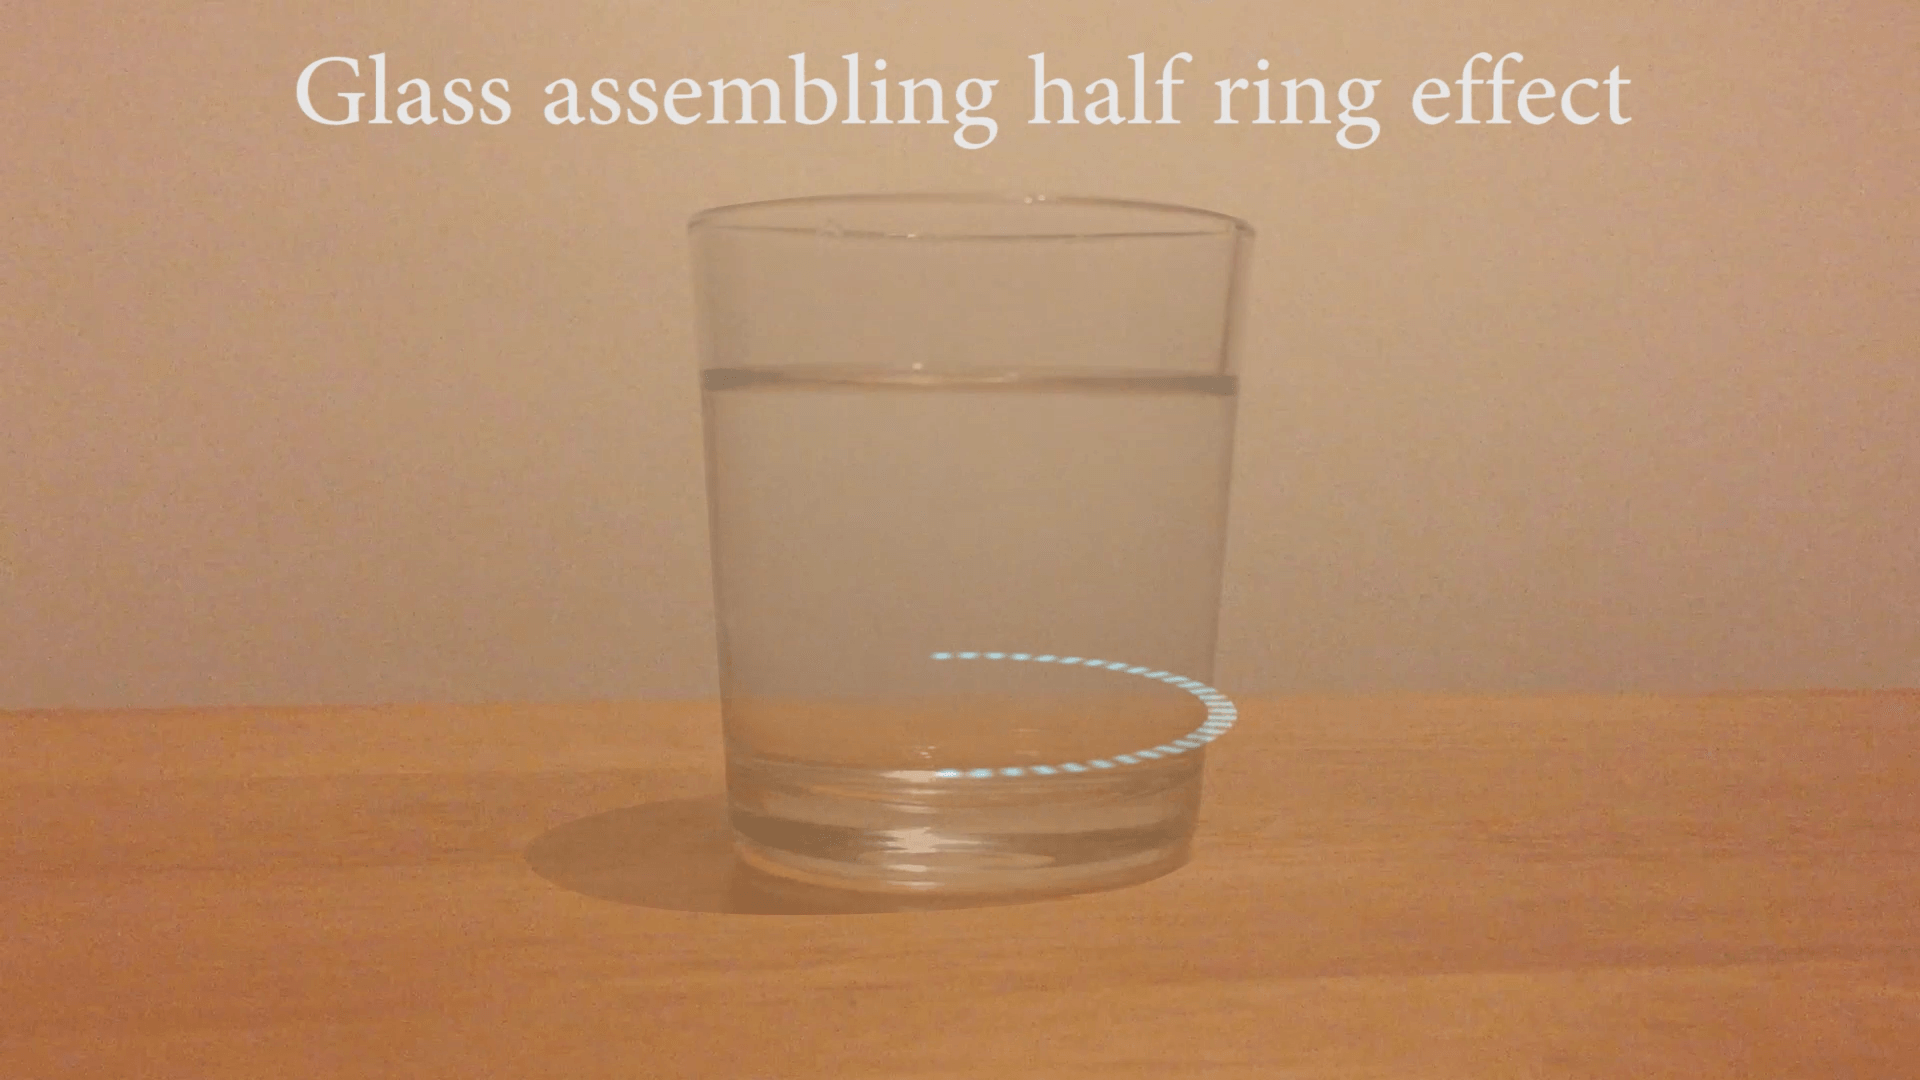
With the half ring effects I was not too impressed with them and they were not as impressive as the Star Treky versions but thought I would add them in just to show that this is what they looked like. I feel the reason why they do not work is that they are half rings and do not look aesthetically pleasing.

Once again I posted my test versions to LSFM digibods to get feedback to see where I could possibly improve and to see if anyone else like the star treky version.

Samantha Dos Santos Feedback
Jas Hughes feedback
Jas Hughes feedback

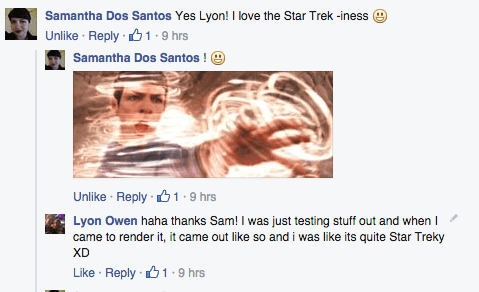
Following on from this feedback, I feel like I should experiment more with the star treky version as seemed to be the one that everyone liked and has potential to grow into something. As well when filming I want to address the noise of the camera in the original footage to make that tidier and less noise on screen. Furthermore, I want to do this method next time which is

table > empty cup > water in cup

to see what happens and to give me more animation to make the glass appear and water molecules form to become water which could be quite cool.

Test glowing eyes 1

After doing my research, I got started doing my test version of the glowing eyes. Firstly, I did a close up recording of my eyes to make sure I could motion track my eyes (although I won’t be motion tracking, I just wanted to get a feel of what the animations I have created would look like and how possibly I could improve them on a example.)

Out of the 30 second clip I decided to use the last 5 second of the recording as I don’t blink and it would give me a better understanding and of the glowing eyes. Also it would not be too difficult to motion track them.

These were the results from my tests.

Iris eye tests 

simple red eyes and minimuslistic style
simple red eyes and minimalist style

This was my first design. I wanted to do a basic, simple and minimalist look too it. However, I felt you could not really see the design and the animation was too simplistic and I could not really have much fun with it.

Screen Shot 2016-02-24 at 23.33.06
red rings

After my first designs, I decided to modify them by adding more dashes and having a twist effect on them to make them look like they were moving faster and to add a style to them. I felt that the red was over powering and was a bit of an eyesore so I then decided to then try different colours to see what they would look like and which suited best.

Screen Shot 2016-02-24 at 23.33.24 Screen Shot 2016-02-24 at 23.33.42    


I felt that the blue and green versions were very interesting and suited the aesthetic design more. With the blue version I felt it really stood out but was not an eye sore as much as the red. Also, the blue gives quite a futuristic look. With the green I felt it gave a much more subtle look but I do not know if that is because of the colour of my eyes as they are green. Nevertheless, I really liked the green as well as they too look quite futuristic.


After I did the Iris tests, I then decided to do a pupil eye test just to see what the results would be and see what potential I could get out of.

Pupil eye test

Screen Shot 2016-02-24 at 23.34.24
red glowing pupil eye test

With the first iteration of the red glowing eyes I thought try them out again just incase they looked different from the iris to the pupils. However I felt they looked no different and still felt that they looked very simplistic and still felt that the animation was restricting so I then reverted back to the newer version I created.

Screen Shot 2016-02-24 at 23.34.39Screen Shot 2016-02-24 at 23.34.55


Personally I really liked the idea of the glowing eyes inside of the pupil as it stands out the most from how black the pupil and catches your attention.

After I made the test video I posted it up on the LSFM digibod page to get feedback on what people think about my designs. Here is the feedback that I received.


Jon Holmes feedback
Jon Holmes feedback
Jacob Redfern's feedback
Jacob Redfern’s (director) feedback


With their feedback I plan on to build upon my animations for the glowing eyes by having two different designs again and possibly different colours. Also, I will look into making them rotate backwards and forwards to give the impression that the glowing rings are focusing.


Research into glowing rings around the eyes

For Immort I was tasked to create and design glowing rings around the eyes. I started looking into different designs, types and generally how busy they looked and found quite a few interesting examples.

busy eyes
busy eye

With this design, I really like the attention to detail and how you have a spiral look around the pupil and looks like that would be an element that would be animated. However, I do feel this design is a bit cluttered and hectic with how it its scattered around everywhere and has small text boxes dotted around which looks a bit untidy.

simplistic eyes
simplistic eye

What I really like about this design is how simplistic it looks and how detailed it is around her pupil and iris, it looks very futuristic and very interesting. Another thing which I like about this is that the ring is around the  pupil and makes sense that it is based around the pupil as the pupil helps us to see. In addition, from an animation point of view it would be quite cool to see the red ring move around by rotating, growing bigger and smaller as that is what the pupil does which might be tricky to do but the effect would be amazing.

simpler eyes
simpler eye

Continuing on from the previous design I feel this is more of a simpler version and almost a hybrid of having a ring around the iris and around the pupil making it very in depth and intricate design. Also, it is not too busy as it has only dots in the Iris and dots round the pupil.

minimalistica eyes
minimalist eye

Finally, with this glowing ring eye it has a very minimalist look to it but its very defining and recognisable which I mean that you can not really miss it. Also, the green is just a single colour and it is very strong to see.


Overall, I really the simplistic eye and minimalist eye looks as they are very defining and are not too busy which I like as they are very minimum. I find that the look and design of them are very interesting as well and they capture your attention so when I do my test versions I will be keeping these designs in mind.

Rigging a 3D Model so far…

When taking upon rigging 3D models, that I have never done before, I did not know how difficult or easy it would be, especially in Blender which is a; 3D modelling, UV unwrapping, texturing, rigging, animating, video editing, rendering and compositing software.

I started to look up tutorials around Blender, looking around the basics of the interface and keyboard shortcuts to get a rough idea of where I could find things. After feeling comfortable with the interface and knowing where things were, I then started looking up rigging tutorials.

Rigging is basically setting up a skeleton structure for the 3D models (that Samantha Dos Santos will be creating) and then animating the structure which will be attached to the 3D model that then moves the components of the 3D model around bringing them to live.

While searching round rigging tutorials for Blender, I came across a tutorial that would teach me the basics of rigging in Blender with a simple skeleton structure. The tutorial even provided a free download of the model that the guy in the video was doing, which I thought was really great.

when you open the file for the first time.
When you open the file for the first time.
when you open the file for the first time.
When you open the file for the first time from a different angle.


Following through the tutorial, I picked up some new tools and keyboard short cuts to make the modelling much more easier. However, I felt that the guy doing the tutorial was rushing a little through the tutorial which made it quite difficult to follow along and understand what he was doing. Due to this, I had to pause the tutorial multiple of times to see what he has doing.

Half Rigged
Half Rigged


This is what I did half way through, I was able to rig half of the model already and had started placing points to move the joints around i.e. the elbows and knee joints. After completing up to this stage, I copied the left side of the rig such as legs and arms and then duplicated them across to the right side of the body.

fully rigged body.
fully rigged body.
fully rigged body (different angle).


After completing the tutorial I felt a bit confused and was a bit disappointed how the tutorial was not very clear but I am determined to go through the tutorial once again to make sure I understand fully what the tutorial is trying to teach me. If it does not work I will find a new tutorial and learn that way. As well, I will be looking further into animating in Blender so that I can then animate the rigs which in turn move the 3d models that Sam has created.

Research into HUDs and interface designs

After been tasked to look into HUDs (heads up displays) and interfaces that will be used within the film I started to look up interfaces to get inspiration and an idea of how or what they looked like and how to animate them.

When looking around for interfaces I first came across this montage of interface designs from the film OBLIVION.

Personally what I really like about this interface design and animation is that its quite fluid and really suits the style of the film and how its not just all square boxes there is a variation of shapes i.e. circles, triangles, diamonds and rectangles. As well the animation of all of the interface designs are creative and smooth, as well what I really liked was that they added in small little flashing dots and moving around which looks really futuristic and advanced.

Diamond shapes
Diamond shapes


close up of interface  of using rectangles
close up of interface of using rectangles


love the idea of small little dots flashing different colours.


I feel after watching this montage of animations of interfaces I would like to take inspiration from how crisp and how detailed the whole interface looks and how they used different shapes and not just one shape throughout.

I then started looking further into more sci-fi films that are interface heavy to see what kind of designs of interfaces they have which made me come across Guardians of the Galaxy created by Territory Studios.

What I really liked about this interface was how the motion of the animation moves around and in a way spreads across the screen.

heart that beats and reveals the lungs attached to the heart.
pixels forming together to create the sphere.


Rocket Racoon's user interface. Fairly Transparent.
Rocket Racoon’s user interface. Fairly Transparent.
notification appears


With Guardians of the Galaxy user interface its very futuristic and alien like, obviously I don’t want to be using the very futuristic look and spaceship style of the user interface but I do really like the animations and the motion of the shapes and text that they used throughout the showreel, as well how things pop up or appear.

Out of my curiosity I started to look into  Territory Studios just to see what they do and what they cover. I found out from when I accessed their website that they are actually an independent studio that covers Design, motion and digital media I then looked through their motion tab and found their portfolio of work that they have done for clients films such as Avengers Age of Ultron , The Martian and Prometheus and they have done all of their user interactions interfaces (UI). while going through their portfolio I then came across the film Jupiter Ascending where they have once again done the user interactions interfaces.

Computer style Font
Computer style Font
Smooth swift movements


Another smooth swift movements


I really like their style, animations, colour plate and the movements they created for both Jupiter Ascending and Guardians of the Galaxy I can see some similarities with the idea of movement with animations and very colourful colours that grab your attention and the animations are hypnotic to watch.

Personally to me these are the standards I am going to have to live up to, to make sure that they look visually striking and attractive to see and watch, animations are smooth and swift and designed correctly so that they suit the world