After completing my designs of the HUDs and evaluating them, it was brought to my attention that ‘Video Copilot’ did a new free plug-in for After Effects called ‘SABER’ primarily for a quicker and faster way to do light-sabers. However, it does so much more than just light-sabers as in the tutorial given by the amazing ‘Andrew Kramer’ who showed its potential and that its not just for light-sabers.
Saber Plug-in advert/promo
After following the tutorial and generally having a play around with the plug-in to seeing how far I could take it, I decided to use this plug in to see what would the difference would be if I used the plug-in on my HUD designs and see what the difference could be like.
A dramatic improvement and visually more believable. However, I do feel I should not probably over use the plug-in and should only use it for the HUD’s. If I do it for everything it would look like I only rely on just that plug in when I don’t want that to be the case.
After the success of my first experiment of the the title sequence, I decided to follow up and do another section of the title sequence by doing the end of the title sequence as once again I had a rough idea on how I would like it to end and how I could make the ending something special.
Below is my first export to the ending of the title sequence.
After creating this title sequence I thought it was good but strongly felt it was missing that WOW factor and something that would make it separate from anything else.
I then posted it up on the Immort closed Facebook group page and the LSFM Digibods page to gain feedback on areas where I could improves.
Feedback from Samantha Dos Santos, James Smillie & Martyn ThayneFeedback from RonnieFeedback from James Fielding
The feedback was all encouraging and extremely helpful, especially Martyn Thayne’s feedback where he suggested the idea of having the camera fly in 3D space through the blood cells and speckle to reach the title of the film.
Following from Martyn’s feedback I decided I should try it out and see how it looks.
Seeing the results I really like it as its a nice end to the title sequence.
With an idea of how I want the title sequence to look and feel, I decided to just see what I could create and see in what areas where possible and were not. In addition, I wanted to see in what areas I could improve and tidy up to make it more believable and realistic.
Below is my first exported version of a section in the title sequence.
Overall, I am extremely happy and impressed how this turned out for my first try and just by experimenting within particular, depth of field with After Effects as I feel its simple, smooth and sleek.
I do feel that I could possibly improve this title sequence further and make it more realistic and impressive as I want to WOW! audiences when they watch it.
With also being tasked with the design and creation of the title sequence for Immort, I have decided to do some research into other title sequences to see what styles and designs I like and how I could tell a short story within that title sequence for the audiences benefit.
I was first lead to the amazing title sequence MANHATTAN where the narrative for the MANHATTAN title sequence is showing the opposition between home and science. In addition, it shows the science of different ideas i.e. the egg cracking meaning the nucleus of an atom and putting two nucleus together to make an atomic bomb, chain reactions its a really cleaver and smooth animation.
The next title sequence I was lead too was the Hollow Man title sequence, where the title sequence just shows almost what it looks like underneath a microscope but instead of using it to see microbes we see words arranging themselves into actors/actress names. Personally, I do not really like the idea of floating words that form to become the names of actors and actresses but what I do like is the underneath a microscope and seeing how things float around. In addition, the depth of field really plays quite a good effect, making stuff look further away.
Spurred on with the idea of floating around and the idea of depth of field, I looked around and found the title sequence The Widowmaker. They also played with the idea of a microscope and depth of field looking closely at objects but as well jumping inside someone, giving the perspective of what it is like from the inside of the human body which I really like. I find it very interesting to watch and could imagine where it shows veins of the human body that it has little nanobots walking around fixing and mending.
The next title sequence that caught my eye was AMC’s The Walking Dead where they utilise with depth of field to make some names and objects hidden as well. However, I feel that The Walking Dead‘s title sequence is almost linked with MANHATTAN title sequence where it almost makes no sense but it gives you a feeling of the environment and how different things have changed over time.
After my research I believe I think I might know what kind of title sequence I want to make, it is almost a hybrid of all the title sequence I have shown but different elements for instance:
MANHATTAN – how the visuals and pictures they use tell you a mini story and how not so clear it is.
Hollow Man – the microscope feeling and seeing objects on a molecular level.
The Widowmaker – the transitions to and from the human body and inanimate objects such as the scalpe and money.
The Walking dead – hidden objects and titles within them playing the z – space.
Personally, I can almost in vision the title sequence with a few adjustments and the research above has encouraged me.
In our film there is a scene where we have a drinking glass appearing and disappearing, but want it to materialise as it is appearing and then dematerialise after our character has finished drinking from it. However, I could not find any references on how can you make objects materialise and dematerialise but I had a rough idea on how to do it. I thought that I should at least test out my idea of how I think it could be done to show if it works or not.
So I did some test footage. Firstly I recorded two different videos.
1 – Plain and no glass.
2 – With glass.
– Note that I didn’t move the camera at all while I recorded this.
I then took it to Adobe After Effects and placed the two videos into the composite.
In After Effects I changed the opacity levels of the cup. After doing this I then noticed that there was a light difference in lighting which made the change very noticeable. To get around this problem I decided to draw masks around the cup to make remove the sudden lighting change.
Mask’s around the cup.
After doing this I then started to do my animations around the cup and these were my results.
Glass assembling one ring
With this test, I really liked the how the rings looked and how I made them look like that they were going around the cup. However, I did feel that one ring was very underwhelming and not really impressive.
Glass assembling multi rings
So I decided to duplicate that ring over and distanced them out over five frames to create this effect which I do feel is much more impressive and is visually pleasing.
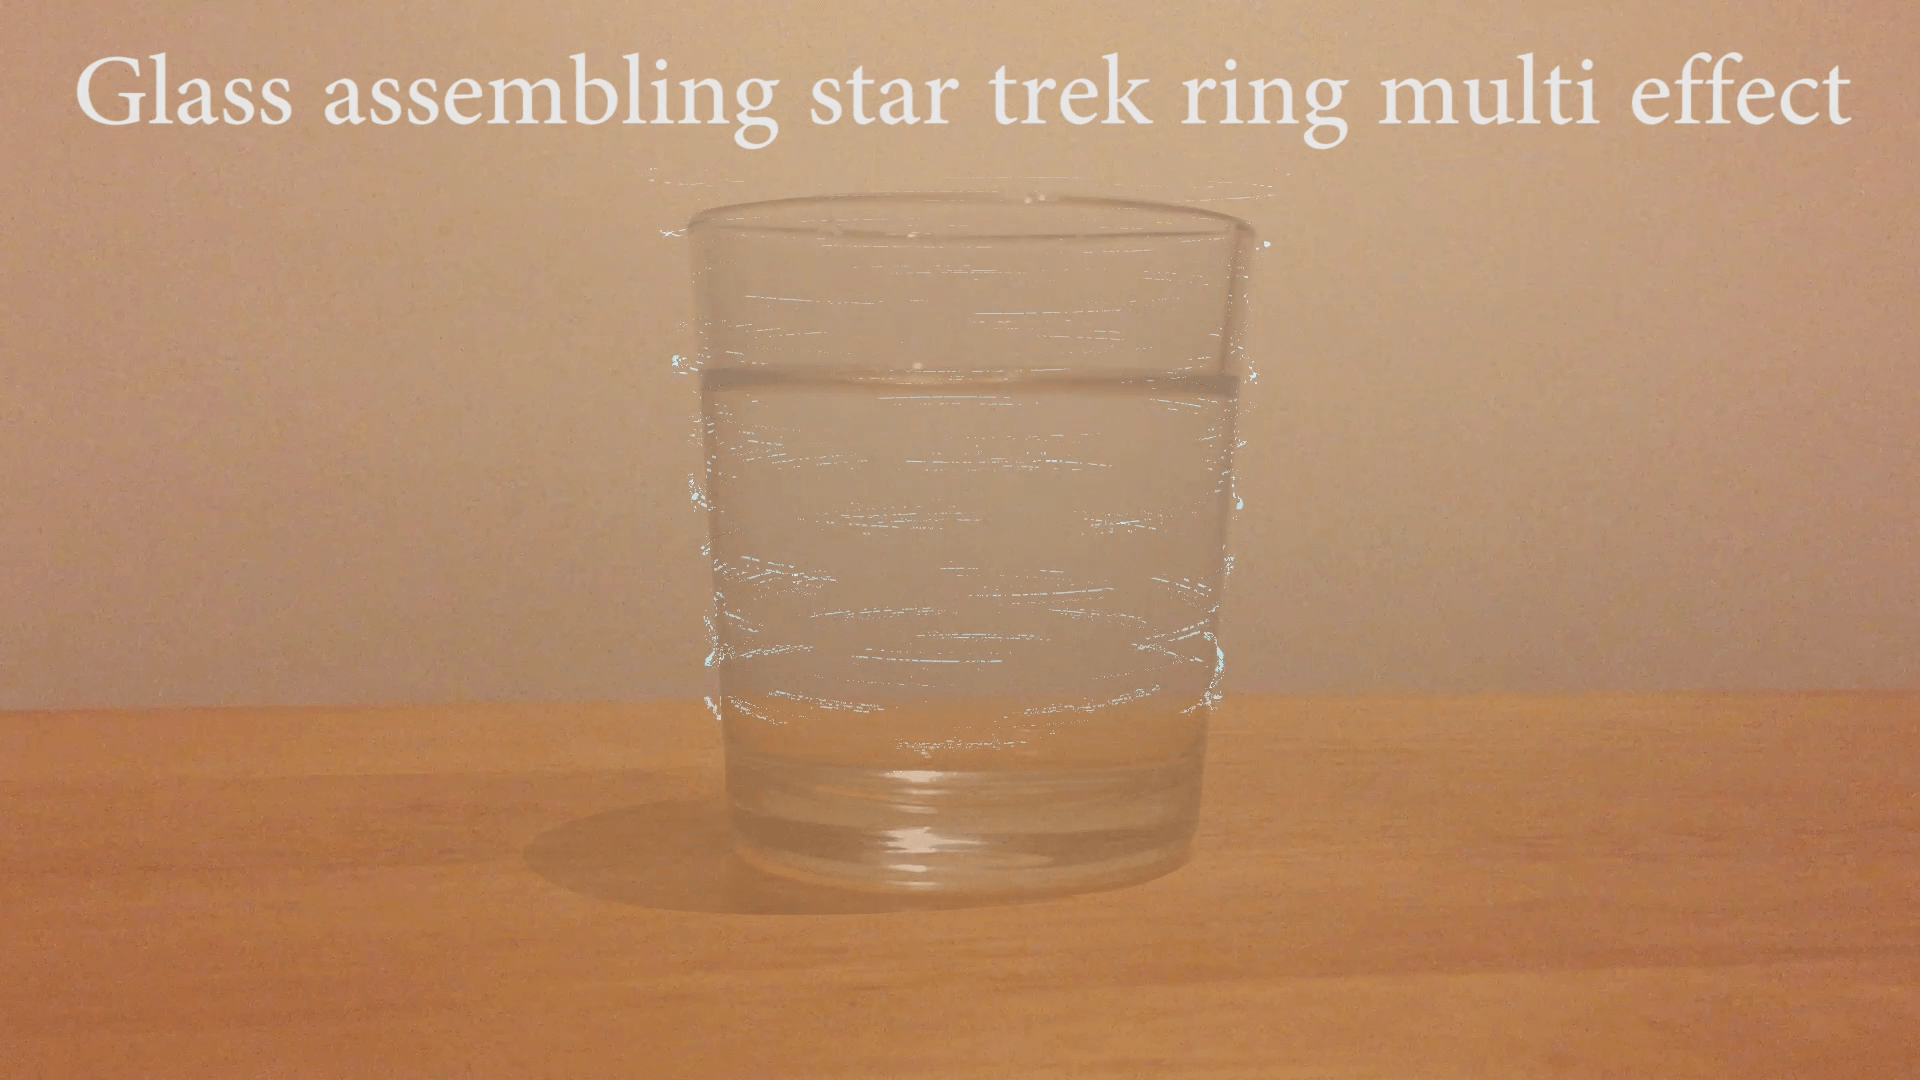
it taught me how to create cool effects by using a gradient and the effect time displacement map that is built within After Effects and thought it would be interesting to see what would happen if I tried to apply that effect to my rings and this is the effect. I personally think it is so cool and looks almost like the effects used in Star Trek when they want to beam someone up to the spaceship.
Glass assembling Star Trek multi rings
Once again I thought it would be interesting if I duplicated that ring over and over and spaced them out over five frames per second and this is the effect. Personally I really like this effect as it is very unique and really fits the aesthetics and I feel like it gives the effect that the cup and water is being created.
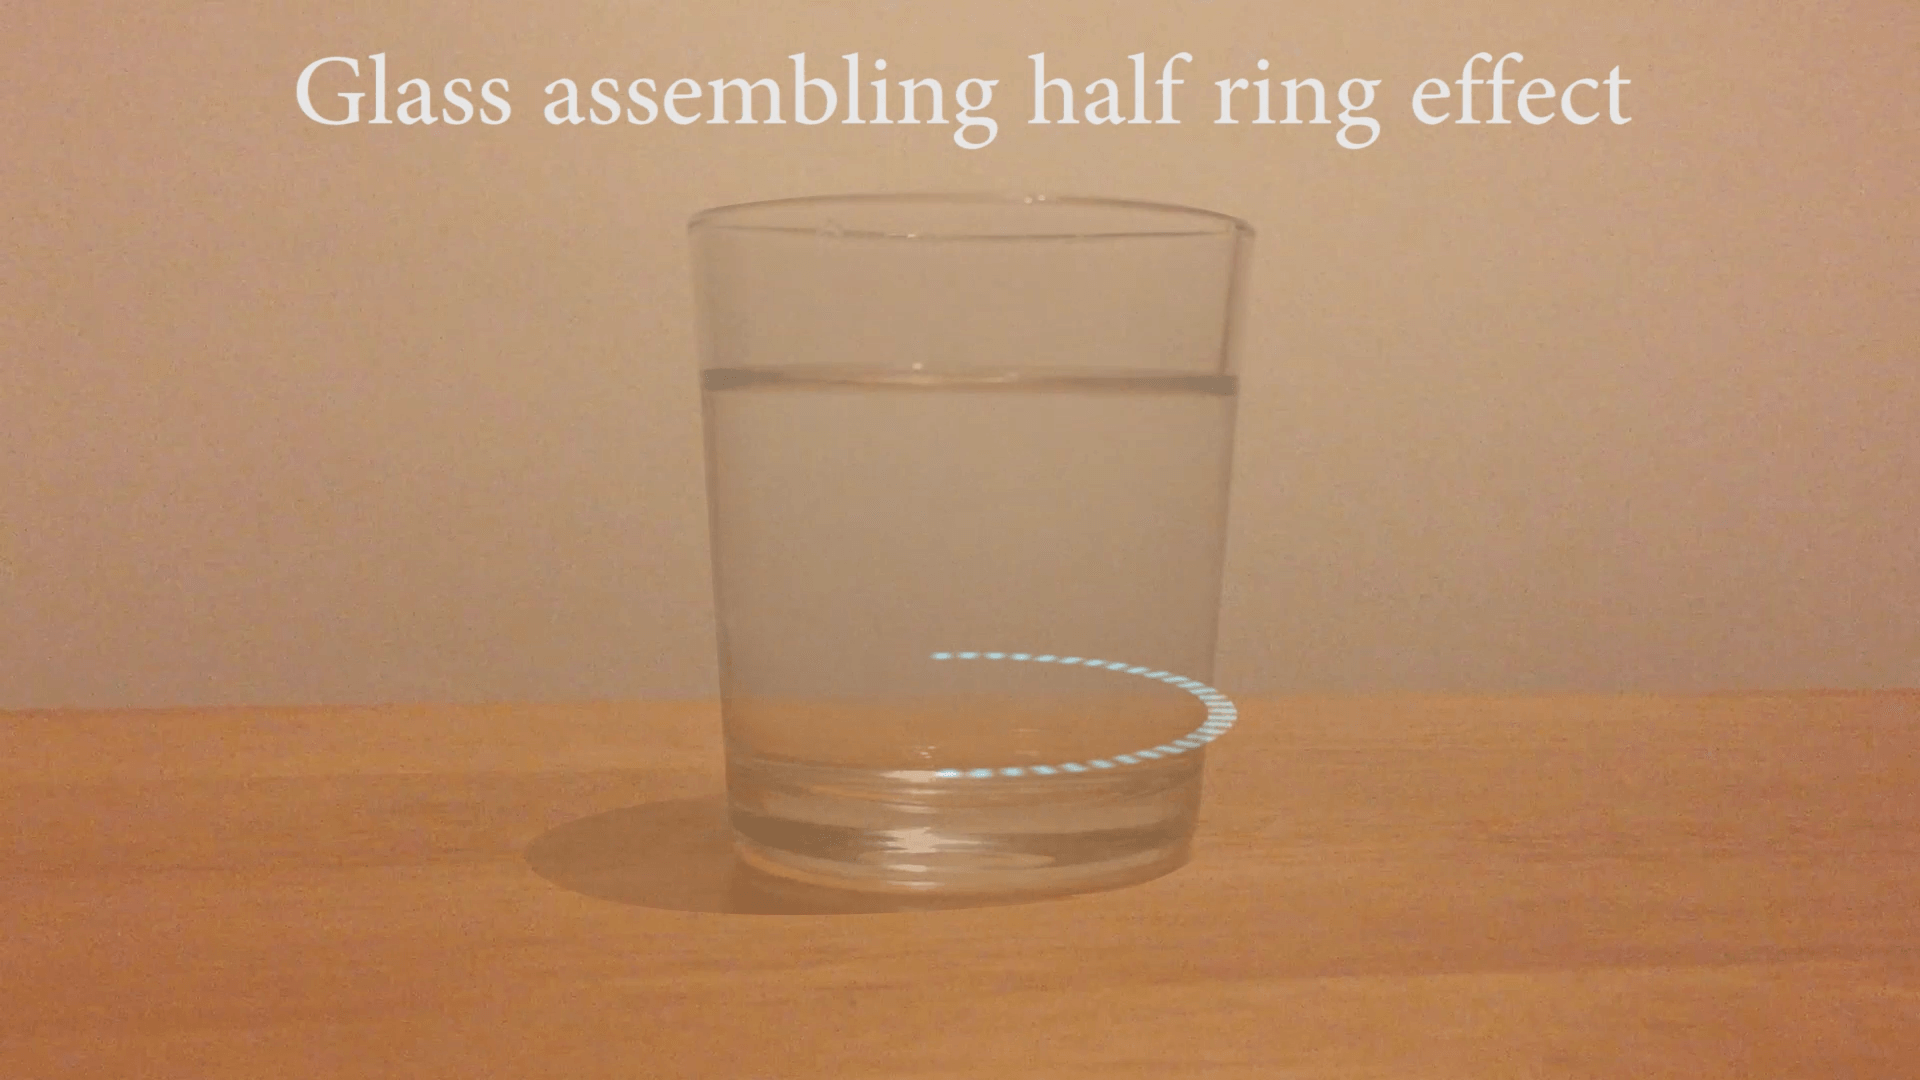
Glass Assembling one half ringGlass Assembling half ring multi
With the half ring effects I was not too impressed with them and they were not as impressive as the Star Treky versions but thought I would add them in just to show that this is what they looked like. I feel the reason why they do not work is that they are half rings and do not look aesthetically pleasing.
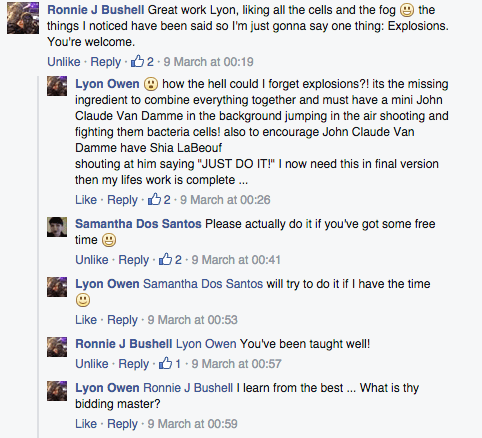
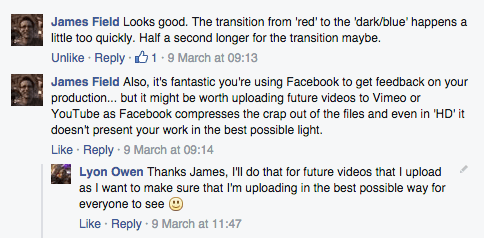
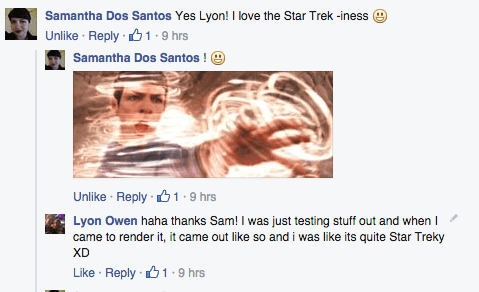
Once again I posted my test versions to LSFM digibods to get feedback to see where I could possibly improve and to see if anyone else like the star treky version.
Samantha Dos Santos FeedbackJas Hughes feedback
Following on from this feedback, I feel like I should experiment more with the star treky version as seemed to be the one that everyone liked and has potential to grow into something. As well when filming I want to address the noise of the camera in the original footage to make that tidier and less noise on screen. Furthermore, I want to do this method next time which is
table > empty cup > water in cup
to see what happens and to give me more animation to make the glass appear and water molecules form to become water which could be quite cool.